Installation instructions are written by ShutterLand, a U.S. exterior shutter specialist with over two decades of hands-on experience mounting shutters on residential homes and commercial properties.
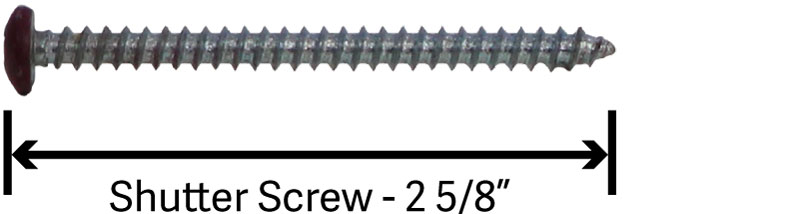
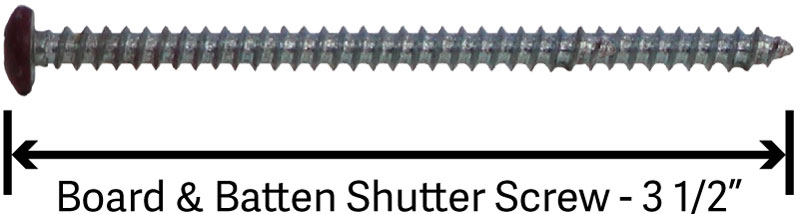
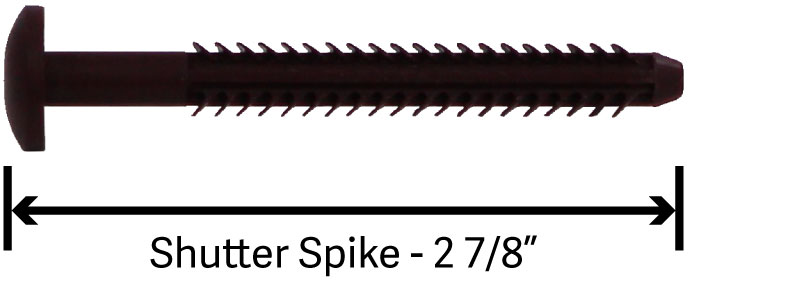
There are two methods of installing vinyl exterior shutters. The first uses non-corrosive metal screws. The second approach employs vinyl spikes. Screws are primarily used to attach outdoor shutters to wood and other soft siding. Spikes are designed to secure shutters to masonry, brick, stucco, hardboard or other hard surfaces. Scales, or ridges, of the shutter spike hold the apparatus in position.
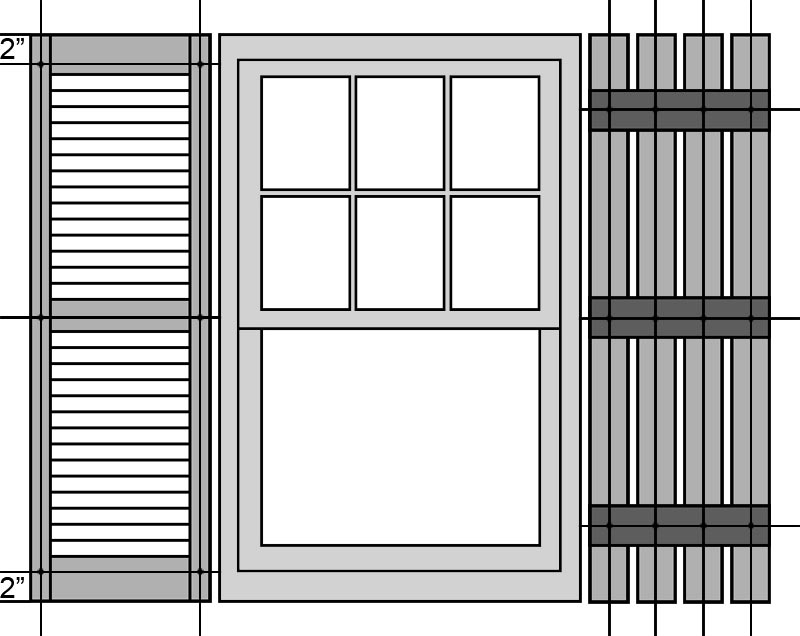
Mark six (6) spots on each shutter (See drawing below). (2) Measure down 2″ from the top of the shutter and center on each side stile. (2) Measure up 2″ from the bottom of the shutter and center on each side stile. (2) Determine the vertical middle the shutter and center on each side stile.
At each mark, drill a 1/4” diameter hole.
Place the vinyl shutter next to the window where you plan to install. Mark the locations of the mounting holes on the building.
After removing the shutter, drill a hole at each mark:
❱ For Wood, Vinyl, or Aluminum siding, drill a 1/4” diameter hole through just the siding. Be careful not to drill into the wall.
❱ For a Wood wall, drill a 1/8” diameter hole, 1 ¾” deep into the wall.
❱ For a Masonry or Brick wall, obtain a screw anchor for a #10 screw. Follow installation instructions given by the anchor manufacturer. (Shutter spikes are recommended for masonry or brick.)
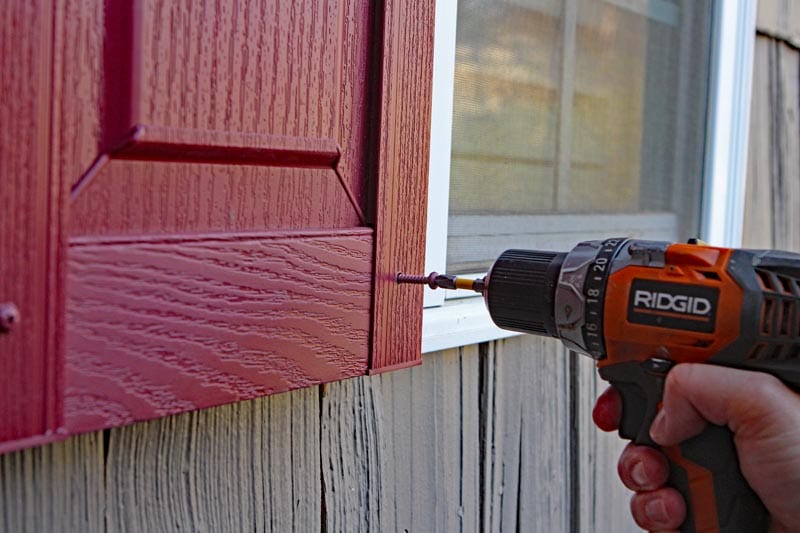
Bring the shutter back into position next to the window. Fasten with the metal screws provided.
***Be careful to use a hand screwdriver rather than a power drill so that metal screws are not over-tightened, causing shutters to distort.***
Continue with this process until all shutters are installed.
Mark six (6) spots on each shutter (See drawing above). (2) Measure down 2″ from the top of the shutter and center on each side stile. (2) Measure up 2″ from the bottom of the shutter and center on each side stile. (2) Determine the vertical middle the shutter and center on each side stile.
At each mark, drill a 5/16” diameter hole.
Place the shutter next to the window where you plan to install. Mark the locations of the mounting holes on the building.
After removing the shutter, drill a hole at each mark:
❱ For Wood, Vinyl, or Aluminum siding, drill a 5/16” diameter hole through the siding. Be careful not to drill into the wall. Then proceed to one of the next two steps.
❱ For a Wood wall, drill a ¼” diameter hole, 2 ¼” deep into the wall.
❱ For a Masonry or Brick wall, drill a ¼” diameter hole, 2 ¼” deep into the wall (It is not recommended to use a concrete anchor when using shutter spikes.)
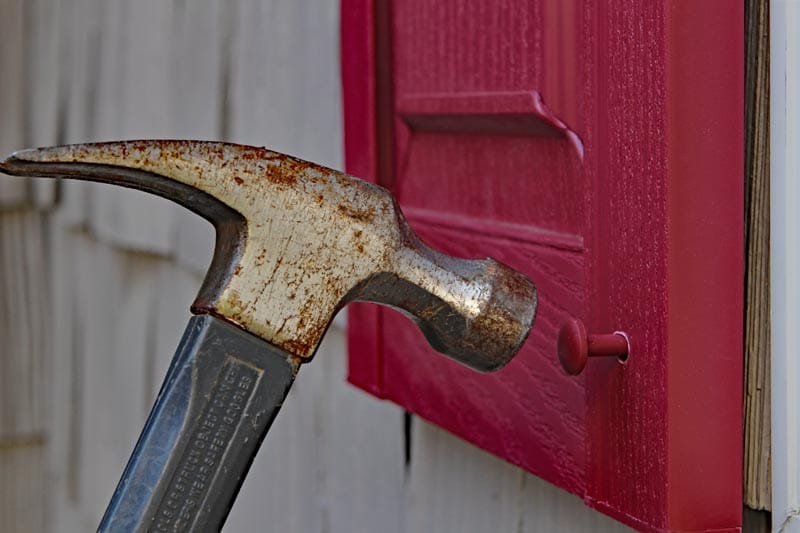
Bring the shutter back into position next to the window. Insert shutter spikes into each pre-drilled hole.
Gently hammer each shutter spike into the building until all spikes are partly in, then finish tapping all of them in place until the back of the spike head meets the shutter face.
***DO NOT TAP SPIKES TOO FAR CAUSING THE SHUTTER TO DIMPLE.***
Continue with this process until all shutters are installed.
Board and batten shutters must be installed with shutter screws. Spikes are too short to go through the vertical and horizontal members.
Tools
Required:
Power Drill
1/4” Drill Bit
5/16” Drill Bit
Tape Measure
Pencil/Marker
Phillips Head Screw Driver
The vinyl shutter warranty is only valid if shutters are mounted in the position specified in the illustration and shutter spikes or screws are installed into the wall.