Installation instructions are written by ShutterLand, a U.S. exterior shutter specialist with over two decades of hands-on experience mounting shutters on residential homes and commercial properties.
Exterior composite shutters are intended for installation in a stationary position. Because the shutters have only one presentable side, they are not suitable to swing open and closed. In the measuring process for composite shutters phase, an installation strategy is established and available mounting surfaces are assessed.
Installation of Outdoor Composite Shutters with Brackets Included
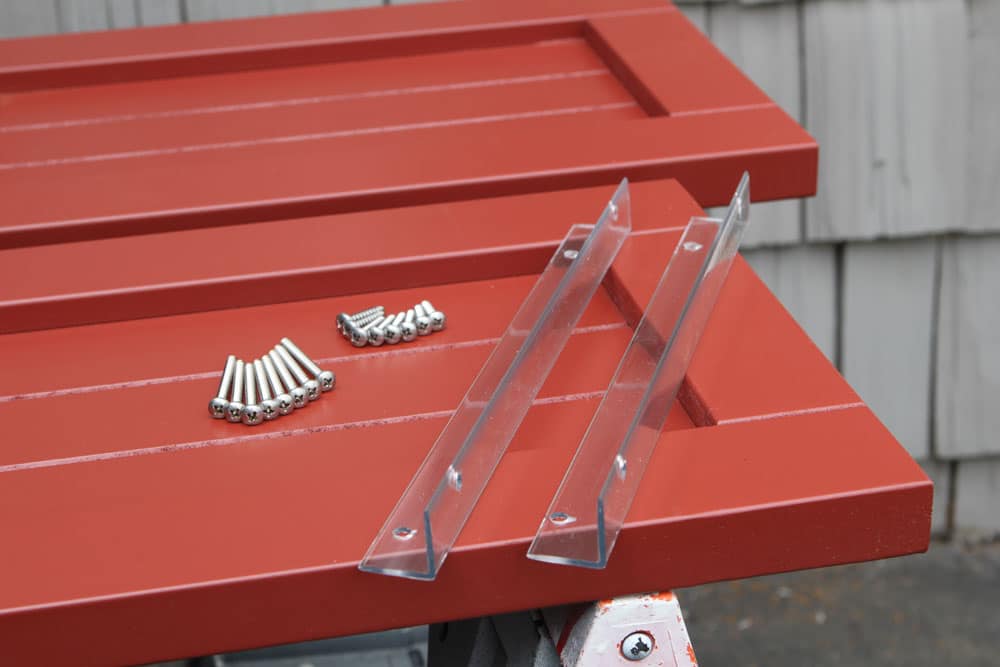
Lexan Polycarbonate fixed mounting brackets and screws are included with every composite shutter ordered. These v-shaped 1-1/8″ x 1-1/8″ brackets are specifically suited for use with outdoor composite shutters and result in the best overall outcome. The vertical side of the bracket attaches to the building. The perpendicular side screws to either the top or bottom of the shutter. The clear brackets extend the full width of the shutter and will not distract from an attractive presentation.
The Lexan mounting method is effective on almost all siding materials. Brick or stone may necessitate the use of wall anchors, molly bolts, or Tapcon screws. Screw locations need to be pre-drilled with a masonry bit prior to insertion of the anchor. Wood shake shingles can be uneven but are easy to drill into. Vinyl siding may lack the fortitude to adhere supports.
The Lexan supports lock the shutter in a fixed position. Installation with a method other than the stationary Lexan fixed mounting brackets will void the warranty. Holes are not pre-drilled in the brackets.
Time needed: 45 minutes
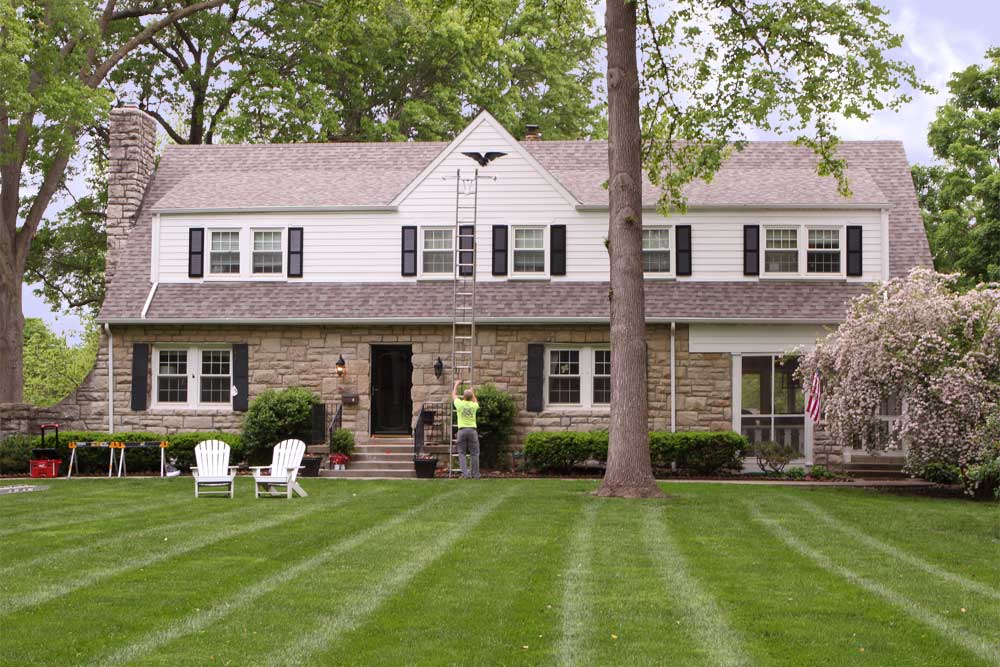
Installation of Composite Exterior Shutters
Unpack and inspect the shutters immediately after delivery
Drill two 0.25″ holes on one edge of the first bracket 1.5″ from each end.
Drill two more 0.25″ holes on the other edge of the bracket 1.5″ from the bracket end and toward the front lip.
If small side brackets were included with shutters over 55″, drill one hole on each edge.
Hold one shutter next to the window in the intended location.
Place a bracket in an inverted position under the bottom of the shutter with the wall-edge up centered on the shutter.
Remove the shutter and horizontally rotate the bracket a quarter turn up.
Mark the siding through the hole closest to the window.
Remove the bracket and pre-drill the hole location on the wall with an 0.125″ bit, about 1.5″ deep.
Insert and tighten one of the longer screws through the bracket and into the predrilled hole.
Place a level on the lip of the bracket and rotate to horizontal.
Mark, pre-drill, and screw in the bracket on the side furthest from the window.
Lift and rest the shutter on the bracket and push it as far back against the wall as possible.
Place an inverted bracket on top of the shutter with the wall-side down.
Remove the shutter, rotate the bracket down, and mark the hole position closest to the window.
Pre-drill the hole and tighten the first screw into the house.
Level the bracket, mark the second hole, pre-drill, and screw in the bracket on the side furthest from the window.
Lift the shutter back into place. There may be some tension between the top and bottom brackets.
Louvered shutters are installed with the louvers slanted down.
Orienting with upward louvers will create small troughs that may harbor moisture. The top rail of louvered shutters are smaller or of equal size compared to the bottom rail.
Mark the top and bottom of the shutter at each hole location.
Remove the shutter and pre-drill at each point using a 5/32″ bit at least one inch deep.
DO NOT skip this step. Failure to pre-drill the shutter can cause the material to split.
Replace the shutter, align the holes, and insert the four short screws.
Make the final turns with a hand-held screwdriver to avoid over-tightening.
Shutters over 55 inches use side brackets installed using the same method.
Repeat this process on the opposite side shutter to complete the installation.
Outdoor Composite Shutter Installation with Screws or Bolts
Occasionally, a fixed bracket installation is not possible. This may be due to a low roofline or cornice along the bottom edge of the shutter – something that prevents accessing the screws that insert through the bracket. Only as a last resort should an installation with a screw through the face be employed.
The screws enter through the face of the shutter and extend into the building. Fasteners should be corrosion resistant to ensure the longest possible life to permanently secure the panels in a stationary open position. Nails are not acceptable because they can become loose over time, and hammering may damage the window shutters. Hot dipped galvanized steel bolts are a substantial option, but are often more bulky than necessary to install exterior shutters. High-quality exterior-grade stainless steel or deck screws with a lifetime polymer coating for wood siding are advised. The screw length needs to be sufficient to pass through the 1.25″ side stiles and into the building.